 Skip to main content


The TanStack CLI’s create command sets up a new TanStack Start app. Run it on its own and it asks you questions; add options and it answers them for you. This guide shows the questions, what each one means, and the options that skip them.
Syntax
npx @tanstack/cli@latest create [project-name] [options]
npxruns a package from npm without installing it on your computer for good.@tanstack/cli@latestis the newest TanStack CLI.createis the command that creates an app.[project-name]is the name of the new folder. It’s optional: without it, the CLI asks.[options]are flags such as--toolchain biome, which answer questions in advance.
The CLI reference (opens in a new tab) lists every option.
Prerequisites
- Node.js 26 and the newest npm.
- A terminal open in the folder where the new app should go.
Step 1: Answer the Questions
Run the command without options:
npx @tanstack/cli@latest create
Each question has a default. Press Enter to accept it, or use the arrow keys to choose another answer first. These are the questions, answered with the defaults and the project name my-app:
npm notice run npx
npm notice run 'tanstack' create
┌  Let's configure your TanStack application
│
◇  Select framework:
│  React
│
◇  Select build tool:
│  Vite
│
◇  Project name (leave empty to use current directory)
│  my-app
│
◇  Select toolchain
│  None
│
◇  Select deployment adapter:
│  Nitro (agnostic)
│
◇  Would you like to include demo/example pages?
│  Yes
│
◇  Keyboard Shortcuts ────────────────────────────────────────────────╮
│                                                                     │
│  Use ↑/↓ to navigate • Space to select/deselect • Enter to confirm  │
│                                                                     │
├─────────────────────────────────────────────────────────────────────╯
│
◇  What add-ons would you like for your project? (Space to toggle, Enter to confirm)
│  none
│
◇  Would you like an example?
│  None
│
◇  Would you like to initialize a new git repository?
│  Yes
│
●  About to create:
│
│    Project:         my-app
│    Location:        /Users/user/my-app
│    Framework:       React
│    Build tool:      Vite
│    Mode:            file-router
│    Package manager: npm
│
│    Deploy:          Nitro (agnostic)
│
│    Initialize git:  yes
│    Install deps:    yes
│    Agent skills:    yes
│
◇  Continue with these settings?
│  Yes
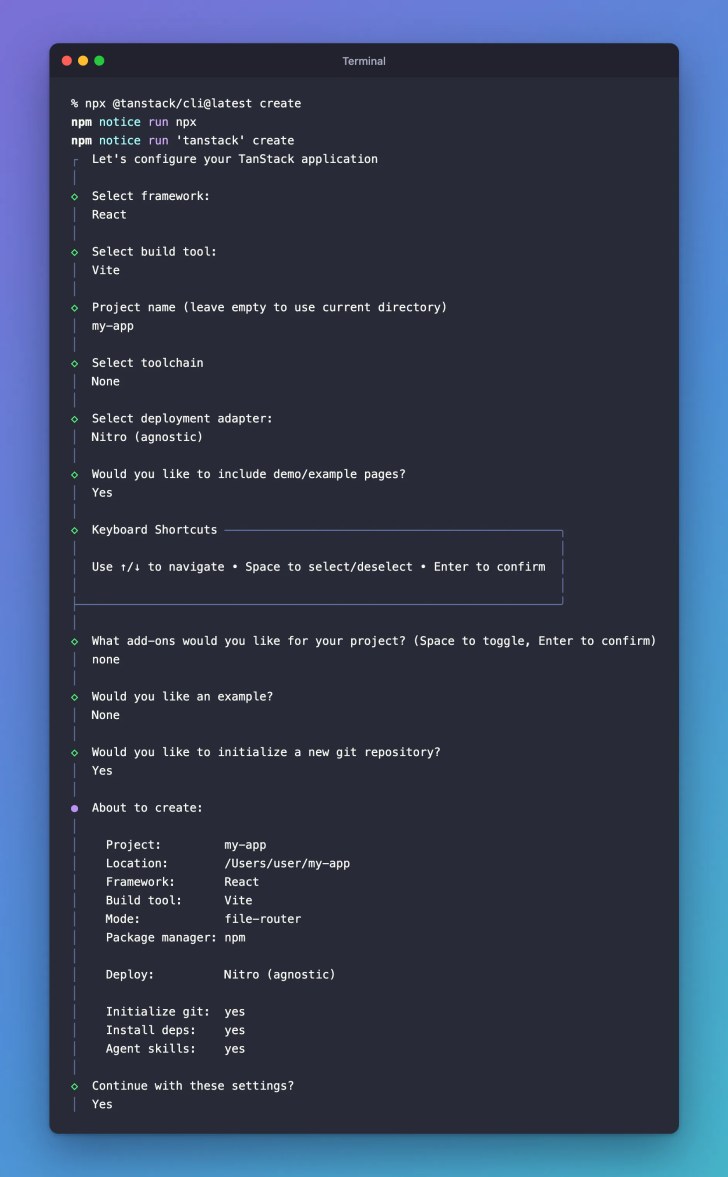
After Continue with these settings?, the CLI creates the folder, installs the packages and builds the app once.
What Each Question Means
| Question | What it decides | Option that answers it |
|---|---|---|
| Select framework | React or Solid | --framework |
| Select build tool | Vite or Rsbuild | --build-tool |
| Project name | The new folder’s name | the [project-name] argument |
| Select toolchain | Biome, ESLint or no tool for formatting and checking code | --toolchain, or --no-toolchain |
| Select deployment adapter | The host the app is prepared for, such as Netlify | --deployment |
| Include demo/example pages? | Extra pages that show features | --examples or --no-examples |
| What add-ons would you like? | Extras such as a database library or sign-in | --add-ons |
| Initialize a new git repository? | Whether the folder starts as a git repository | --git or --no-git |
The summary also shows Agent skills: yes, the TanStack Intent files for AI coding assistants. --no-intent leaves them out.
The default deployment adapter is Nitro, which is still a pre-release. This tutorial series prepares its app for Netlify instead.
Step 2: Skip the Questions with Options
This command answers every question and creates the app that Part 2 uses. -y accepts the defaults for anything not given:
npx @tanstack/cli@latest create bookshop --package-manager npm --toolchain biome --deployment netlify --no-examples --no-intent -y
All the Options
--help prints every option:
npx @tanstack/cli@latest create --help
Options:
  --framework <type>                                             project framework (React, Solid)
  --build-tool <vite|rsbuild>                                    select the project build tool
  --starter [url-or-id]                                          DEPRECATED: use --template. Initializes from a template URL or built-in id (default: false)
  --template-id <id>                                             initialize using a built-in template id
  --template [url-or-id]                                         initialize this project from a template URL or built-in template id
  --no-install                                                   skip installing dependencies
  --package-manager <npm|yarn|pnpm|bun|deno>                     Explicitly tell the CLI to use this package manager
  --dev-watch <path>                                             Watch a framework directory for changes and auto-rebuild
  --run-dev                                                      Run the app dev server alongside dev-watch (default: false)
  --router-only                                                  Use router-only compatibility mode (file-based routing without TanStack Start)
  --blank                                                        Create a minimal one-route app without default starter UI, Tailwind, devtools, or tests
  --tailwind                                                     Deprecated: compatibility flag; standard scaffolds always enable Tailwind
  --no-tailwind                                                  Deprecated: compatibility flag; use --blank for a project without Tailwind
  --examples                                                     include demo/example pages
  --no-examples                                                  exclude demo/example pages
  --deployment <cloudflare|netlify|nitro|railway|render|vercel>  Explicitly tell the CLI to use this deployment adapter
  --toolchain <biome|eslint>                                     Explicitly tell the CLI to use this toolchain
  --no-toolchain                                                 skip toolchain selection
  --interactive                                                  interactive mode (default: false)
  --non-interactive                                              skip prompts and use defaults (default: false)
  -y, --yes                                                      accept defaults and skip prompts (default: false)
  --add-ons [...add-ons]                                         pick from a list of available add-ons (comma separated list)
  --list-add-ons                                                 list all available add-ons (default: false)
  --addon-details <addon-id>                                     show detailed information about a specific add-on
  --json                                                         output JSON for automation (default: false)
  --git                                                          create a git repository
  --no-git                                                       do not create a git repository
  --intent                                                       set up TanStack Intent skill mappings for coding agents
  --no-intent                                                    skip TanStack Intent setup
  --target-dir <path>                                            the target directory for the application root
  --add-on-config <config>                                       JSON string with add-on configuration options
  -f, --force                                                    force project creation even if the target directory is not empty (default: false)
  -h, --help                                                     display help for command
See the Add-Ons
--list-add-ons prints the add-ons and deployment adapters you can pass to --add-ons and --deployment. The first lines:
npx @tanstack/cli@latest create --list-add-ons
npm notice run npx
npm notice run 'tanstack' create --list-add-ons
  cloudflare: Deploy to Cloudflare Workers (edge runtime, KV/D1/R2 bindings).
  netlify: Deploy to Netlify (Functions and Edge Functions, GitHub-driven).
  workos: Enterprise SSO, SAML, and directory sync (good for B2B apps).
  railway: Deploy to Railway (full-stack PaaS for Node + databases).
  clerk: Hosted user accounts with prebuilt sign-in UI and social providers (managed).
  render: Deploy to Render (full-stack cloud platform with GitHub integration).
  convex: Reactive document database with real-time queries and serverless functions.
  vercel: Deploy to Vercel (Functions, static assets, and Git previews).
  sentry: Add Sentry's TanStack Start SDK for server error monitoring and tracing.
* prisma: Type-safe database client with schema migrations (Postgres, MySQL, SQLite, MongoDB).
  strapi: Headless CMS with admin UI (self-hosted, content models in TypeScript).
* shopify: Headless Shopify storefront — products, cart, Shopify-hosted checkout, and optional customer accounts. Mounts /shop/* routes alongside your existing app.
Common Mistakes
| Mistake | What happens | Do this instead |
|---|---|---|
| Leaving the project name empty | The CLI uses the current folder | Type a name, or pass it in the command |
| Running the command in a folder that isn’t empty, without a name | The CLI asks whether to continue; the default is No | Run it where the new folder should go |
Forgetting -y with options | The CLI still asks the questions you didn’t answer | Add -y to accept the defaults |
FAQ
Does the CLI send data anywhere? It sends anonymous usage data by default, and says so the first time it runs. Its README (opens in a new tab) lists what it sends and how to turn it off.
Can I add an add-on later? Yes. The CLI has an add command for existing projects; the CLI reference describes it.
Conclusion
npx @tanstack/cli@latest create asks about the framework, build tool, name, toolchain, host, demo pages, add-ons and git. Accept the defaults with Enter, or answer everything in one command with options and -y.
Additional Resources
- TanStack CLI Reference (opens in a new tab)
- TanStack CLI quick start (opens in a new tab)
- TanStack CLI on GitHub (opens in a new tab)
Related
- TanStack Start Tutorial — Part 2: Create Your First TanStack Start App
- TanStack Start Tutorial for Beginners, every part of the series
TanStack, React and other names mentioned are trademarks of their respective owners. JD Bots isn’t affiliated with or endorsed by TanStack.


0 comments