 Skip to main content


PostgreSQL 19 is out. This guide shows how to install PostgreSQL 19 on macOS with the official installer, screen by screen, then connect to it from Terminal with psql.
The installer is made by EDB, and it’s the one postgresql.org lists for macOS. It sets up the database server and its command-line tools, and it offers to install pgAdmin 4, the free graphical tool for PostgreSQL. New to PostgreSQL? Part 1 of the PostgreSQL Tutorial explains what it is.
By the end, you’ll have:
- PostgreSQL 19 running on your Mac, starting by itself whenever the Mac starts
- psql, the PostgreSQL command-line tool, working in Terminal
- pgAdmin 4 in your Applications folder
Every screen and output on this page is real, from PostgreSQL 19.0 on a Mac with macOS 26 and Apple silicon.
Prerequisites
A Mac user account with administrator rights. The installer asks for your Mac password.
Step 1: Download the PostgreSQL 19 Installer
Open the PostgreSQL download page on the EDB website (opens in a new tab). In the 19.0 row, click the download icon under Mac OS X.

Your browser downloads postgresql-19.0-1-osx.dmg, about 101 MB, to your Downloads folder.
Step 2: Open the Installer
In Finder, open Downloads and double-click postgresql-19.0-1-osx.dmg. A window opens with the installer app:
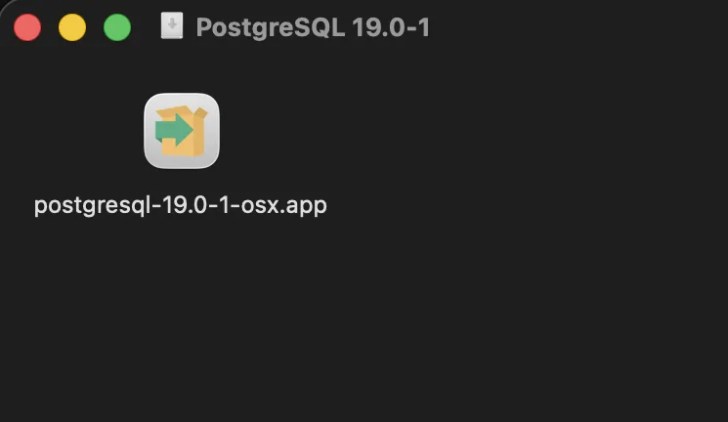
Double-click postgresql-19.0-1-osx.app. Because it came from the internet, macOS asks first. Click Open:

macOS then asks for your Mac password, so the installer can install software. Type it and continue. The Setup window opens. Click Next:
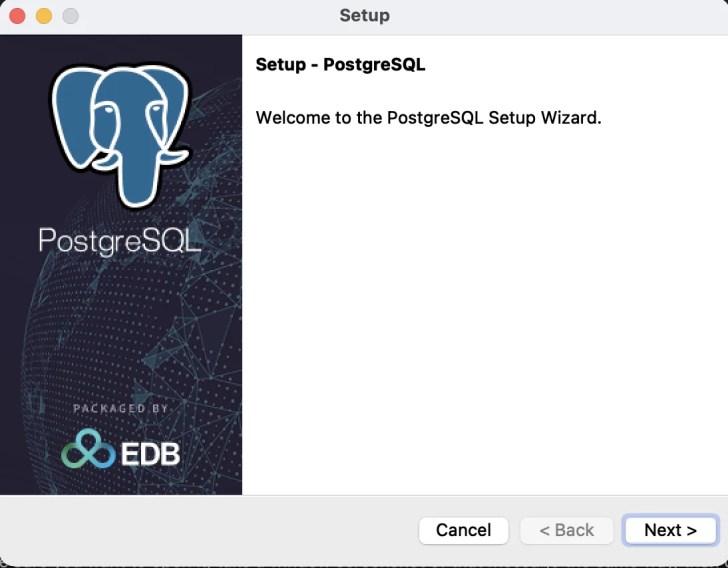
Step 3: Keep the Default Folders and Components
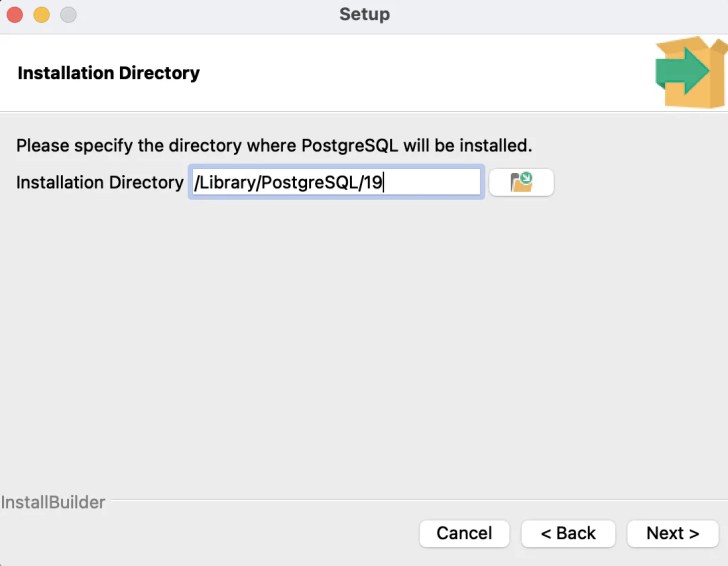
The next three screens already hold the right values. On each one, click Next.
Installation Directory is where PostgreSQL’s programs go: /Library/PostgreSQL/19.
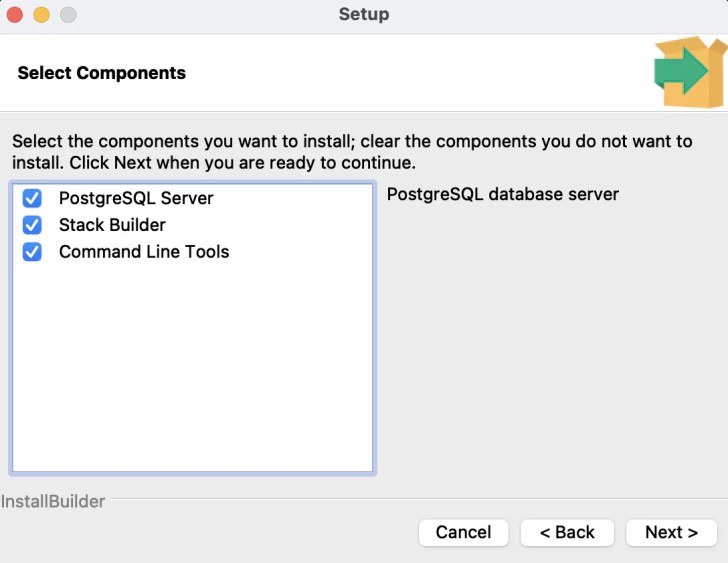
Select Components has all three ticked. PostgreSQL Server is the database itself, Command Line Tools include psql, and Stack Builder is an optional tool for installing add-ons later.
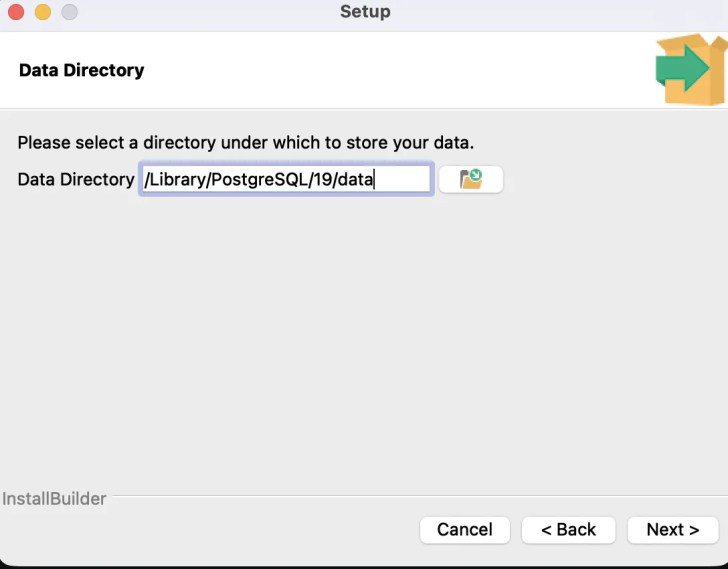
Data Directory is where your databases are stored: /Library/PostgreSQL/19/data.
Step 4: Choose a Password for the postgres User
PostgreSQL has its own admin user, called postgres. Type a password for it in both boxes, then click Next.
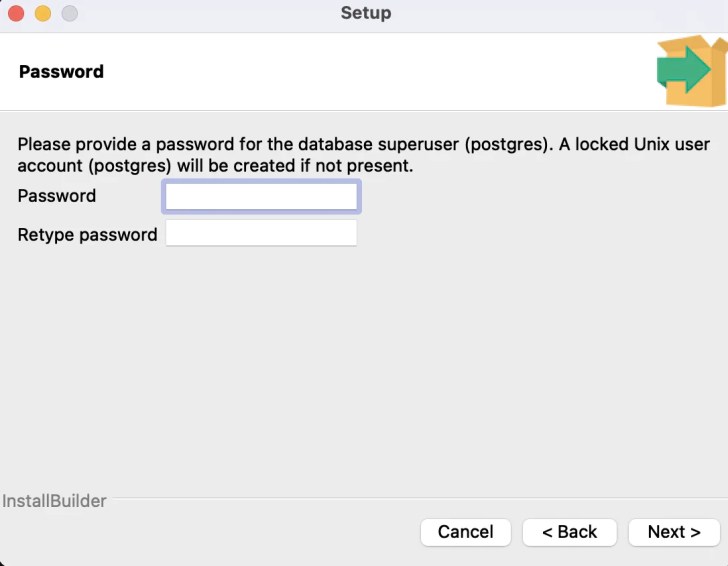
Keep this password somewhere safe: you type it each time you connect as postgres. Choose a strong one, even on a Mac only you use. The installer also creates a locked macOS user named postgres, which runs the database server in the background.
Step 5: Keep the Port and the Locale
On Port, keep 5432, the standard PostgreSQL port that apps use to reach the server. Click Next.

On Advanced Options, keep the locale at DEFAULT and click Next. The locale sets the language rules for sorting text and formatting dates and numbers.

Step 6: Install PostgreSQL 19 and pgAdmin 4
Pre Installation Summary lists your choices. Click Next, then click Next again on Ready to Install to start.

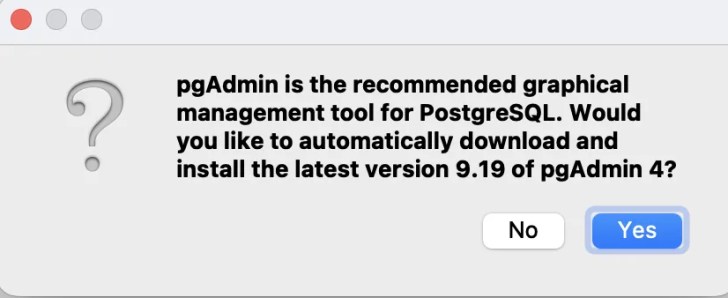
When the server is installed, the installer offers to download and install pgAdmin 4. Click Yes. It downloads the latest version, 9.19 when I installed it, and adds pgAdmin 4 to your Applications folder.
When the last screen appears, untick Launch Stack Builder at exit and click Finish. You don’t need any add-ons to get started.
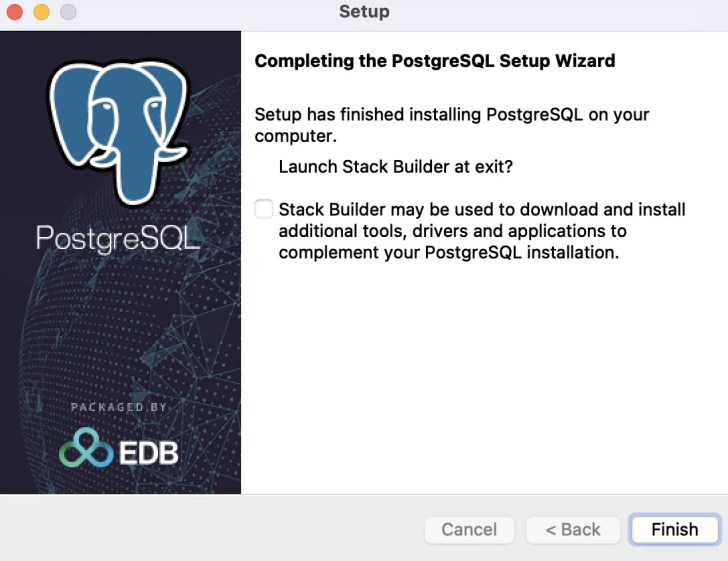
PostgreSQL 19 is now installed and running. The installer also added a PostgreSQL 19 folder to Applications, with shortcuts such as SQL Shell (psql) and Stack Builder.
Step 7: Add PostgreSQL to Your PATH
Terminal finds programs by searching the folders listed in a setting called PATH. psql is in /Library/PostgreSQL/19/bin, which isn’t on that list yet. Open Terminal (press ⌘ Space, type Terminal and press Return), then run:
echo 'export PATH="/Library/PostgreSQL/19/bin:$PATH"' >> ~/.zshrc
This adds one line to ~/.zshrc, the settings file that zsh, the Mac’s standard shell, reads each time Terminal opens a window. Press ⌘N to open a new Terminal window, which reads the new line.
Step 8: Connect to PostgreSQL with psql
In the new window, connect as the postgres user:
psql -U postgres
-U postgres tells psql which user to connect as. Type the password from Step 4 and press Return. Nothing appears while you type, which is normal.
Password for user postgres:
psql (19.0)
Type "help" for help.

postgres=#
You’re connected. postgres=# is the psql prompt: psql is waiting for a command. Ask the server which version it runs:
SHOW server_version;
 server_version
----------------
 19.0
(1 row)
The server answers 19.0. Type \q and press Return to leave psql:
\q
Clean Up
There’s nothing to clean up: this guide only installs PostgreSQL, and the server keeps running so it’s ready when you need it. To remove PostgreSQL 19 later, follow How to Completely Uninstall PostgreSQL from macOS (EDB Installer).
Common Mistakes
| Mistake | What you see | Fix |
|---|---|---|
| Running psql in a Terminal window that was open before Step 7 | zsh: command not found: psql | Press ⌘N for a new window and run it again. |
| Typing your Mac password instead of the postgres password | psql: error: connection to server on socket "/tmp/.s.PGSQL.5432" failed: FATAL: password authentication failed for user "postgres" | Type the password you chose in Step 4. |
FAQ
Does PostgreSQL start by itself when my Mac starts?
Yes. The installer sets PostgreSQL up as a background service, postgresql-19, that starts whenever the Mac starts. You don’t need to start it yourself.
Where does PostgreSQL keep my databases?
In the data folder from Step 3, /Library/PostgreSQL/19/data. Leave its files to PostgreSQL: change your data with SQL, never by editing those files.
Is PostgreSQL free?
Yes, for personal and commercial use. Is PostgreSQL Free for Commercial Use? explains its licence.
Do I need pgAdmin?
No. psql can do everything, and this series uses both. pgAdmin shows your databases in windows and lists instead of text, which many beginners find easier.
Conclusion
PostgreSQL 19 is installed on your Mac, starts by itself and answers in Terminal. Next in the series: Part 2: Connect with psql and Run Your First Commands (coming soon). The PostgreSQL Tutorial for Beginners page lists every part and setup guide.
Additional Resources
- PostgreSQL: macOS packages (opens in a new tab)
- EDB Docs: Installing PostgreSQL on Mac OS X (opens in a new tab)
- PostgreSQL 19 Released! (opens in a new tab)
- PostgreSQL 19 documentation: psql (opens in a new tab)
- PostgreSQL 19 documentation: SHOW (opens in a new tab)
- pgAdmin 4 for macOS (opens in a new tab)
Postgres, PostgreSQL and the Slonik Logo are trademarks or registered trademarks of the PostgreSQL Community Association of Canada, and used with their permission.


0 comments