
Keeping a track of your code changes and its history is very important for a developer. Bitbucket is a Git-based source code repository hosting service owned by Atlassian. Bitbucket offers both commercial plans and free accounts with an unlimited number of private repositories.
In this post, we will push our code to the created repository in Bitbucket using Visual Studio. I hope, you already have the Bitbucket repository created. If not, refer to my post on How to Create a new Bitbucket Code Repository? Make sure, not to include .gitignore and README.md files while creating the repo.
Pre-requisites
- Bitbucket Account
- Visual Studio
Visual Studio link can be found in Downloads page.
Push your Code to Bitbucket Repo
I hope you have the project or code changes ready in the Visual Studio to be pushed to Bitbucket Repo. You will have a similar project like this with a Solution and under the solution one or more projects.

Right-click on the solution file and click Create Git Repository.

A Git popup will be shown asking to create a Git repository.
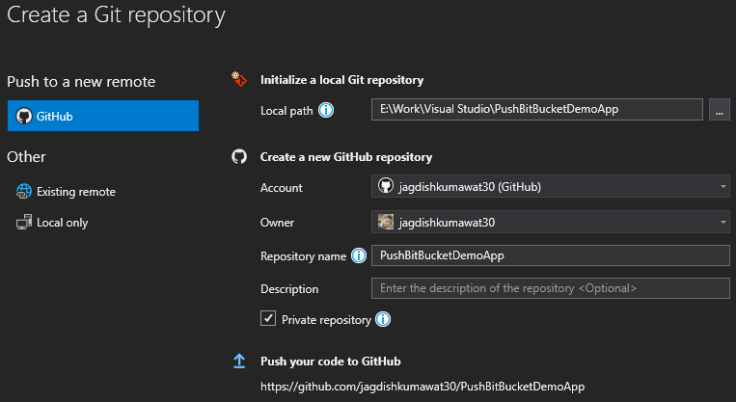
Under Other -> select Existing remote. Provide the URL. The URL can be found on the Repo instruction page in Bitbucket. Then click on Create and Push. This will create a local repo and connect it to Bitbucket Repo and push your code.


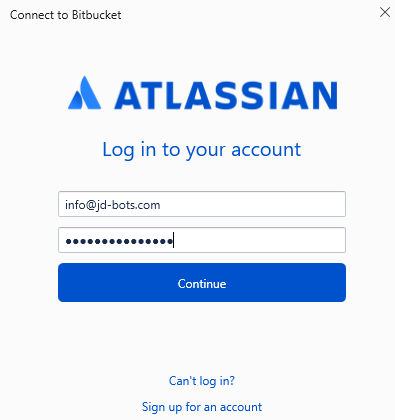
You may be asked to log in to Bitbucket if you are pushing your code for the first time.
You will see in your Solution Explorer that on each file and folder, a new blue lock is shown. This verifies that a local git repo is created.

Just reload the Bitbucket repository portal and you will see your code pushed to the repo.

Now we will see, how to commit and push new changes. Till now, we have pushed the complete code to the Bitbucket repo. Now, try making changes in the code, what do you see against the file you just made the change to. I made some changes to the Index.cshtml file.

When you make any changes, you will see a red tick mark in front of the file. This tells us that, there are unstaged changes. Go to the Git Changes tab. You find the files, you made changes to in the Changes(n) category.

Either you can directly commit all, or Stage them before commit. If you want to stage them, select the Commit All dropdown and click Stash All and Keep Staged. This will move your file under Stashes with a unique reference ID.
We will not stage it, we will directly Commit All with a commit message to be provided in the box. You can also Commit and Push at the same time, we do have an option for that in the dropdown.

When you click Commit All, the commit will be created locally, now click on the Push arrow button to push it to the Bitbucket repo.

You will see the success message, when it is pushed to remote repo.

If you have the changes in the Bitbucket repo which are not available in the local repo, you can make a pull request first and then make your changes on top of it.
It is always a good practice to pull the code first and then make your changes to avoid losing the code changes made by your team members.
Thank you All!!! Hope you find this useful.
If you liked our content and it was helpful, you can buy us a coffee or a pizza. Thank you so much.

Leave a Reply