
Before starting, I hope you have an Azure Subscription. If you don’t have one, create a free account here. This bot is created using azure services. If you want to create an echo bot using the C# template using Bot Builder SDK in Visual Studio, go to my post Create Echo Bot using Bot Builder SDK in Local Environment | Microsoft Bot Framework.
Please Note: Web App Bot and Bot Channels Registration will be deprecated but existing resources will continue to work. You should use Azure Bot, instead.
This blog post uses Web App Bot.
Video
Step 1: Go to Azure Portal – https://portal.azure.com/
Step 2: Click on “Create Resource”

Step 3: Search Web App Bot

Step 4: Click Create
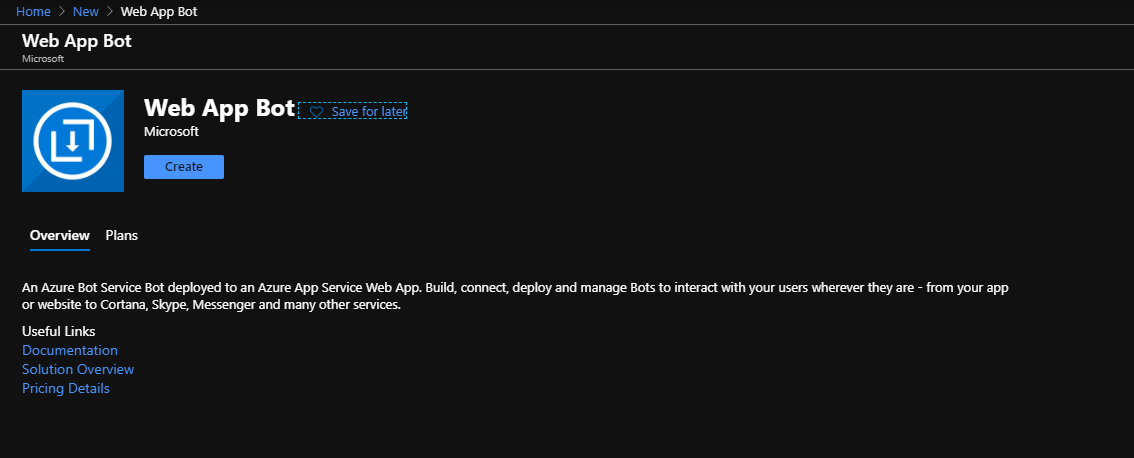
Step 5: Fill Web App Bot Form and click Create.

- Bot handle – EchoWebAppBot_v1 (Give any name of your choice).
- Subscription – Free Trail (Select your subscription – Pay as you go/Free Trial).
- Resource Group – Create new or Select from existing. I will create a new resource group with the name “ChatBotResourceGroup”.
- Location – Select your app location. I will select “Southeast Asia”.
- Pricing Tier – F0 (I will select the free tier for the demo. For higher requirements go for S1 tier. Remember S1 tier will incur charges).
- App name – Automatically taken from bot handle.
- Bot template – Echo Bot(C#).
- App Service Plan – Create new or Select from existing. For creating App Service Plan, go to my “Create App Service Plan in Microsoft Azure” tutorial.
- Application Insights – Off (For performance monitoring, you can click “On”).
- Microsoft App ID and Password – Auto Create
Step 6: Wait for the deployment to get completed. If completed, go to the resource mentioned in the notification panel.
Step 7: Click on Test in Web Chat under Bot Management.


Azure bot service hats off to it.