
Build, train and publish a sophisticated bot using FAQ pages, support websites, product manuals, SharePoint documents or editorial content through an easy-to-use UI or via REST APIs.
Pre-requisites
- A valid Azure Subscription. If you don’t have one, create a free account here.
Video
Creating QnA Maker service in Azure Portal
Follow the steps here to create a resource group. Under your resource group, click on Add.

Search for “QnA Maker” in Search bar and click create.


Fill the form with valid values and create the QnA Maker service
- Name : Enter name of your QnA Maker service.
- Subscription : Select from the drop-down.
- Pricing Tier : F0 (Free). For higher requirement select other pricing tier accordingly.
- Resource Group : Already selected. If not, select desired resource group from the drop-down.
- Azure Search pricing tier : F (3 indexes).
- Azure Search location : (Asia Pacific) Southeast Asia. Select location which benefits you and your customer.
- App Name : Pre-filled same as “Name“.
- Website Location : (Asia Pacific) Southeast Asia. Select location which benefits you and your customer.
- App Insights : Disable. Enable to check how your app is performing, insights shows powerful analytics tools for you to help to diagnose issues.


By default, QnA Maker service creates a App Service plan in S1 (Standard) pricing tier. Follow the below steps to change it to free pricing tier.
Under your resource group. Select the resource with type App Service Plan.

Under Settings, select Scale up (App Service Plan).

Select F1 under Dev/Test and apply.

Creating Knowledge Base in QnA Maker Portal
Go to QnA Maker Portal and login using the same credentials used in Azure Portal. Click Create Knowledge Base.

Step 1 shown is already completed. Click on refresh in Step 2.

Select your Directory, Subscription, QnA Maker Service and Language.

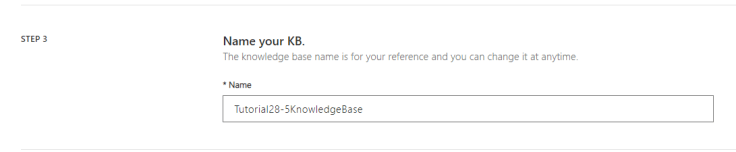
Name your KB : Tutorial28-5KnowledgeBase.
Populate your KB : You can provide a URL pointing to FAQs or upload a file which contains Question Answer pairs. I will be populating with chitchat pairs. Select any chitchat module.

Finally Create your KB.

Make sure your source is imported with file name or chitchat module name with their QnA Pairs.

Test the functionality in Test. After making any changes such as adding new QnA Pairs, always “Save and Train”.

Click on Publish after saving & training the model.

Click Create Bot after successful publishing of KB.

Creating Web App Bot
It will redirect you to creating a Web App Bot service in Azure Portal. Fill the form and Create. Most of the fields are populated automatically. Change the fields based on requirement.
- Bot handle : Give the name of the bot.
- Subscription : Select from the drop-down.
- Resource group : Select the RG where you want to store this Bot.
- Location : Southeast Asia (Based on you and your customer benefit).
- Pricing Tier : F0 (If exceeding the 10K Premium messages, select S1).
- App name : Same as bot handle
- SDK Language : C# or Node.js (Based on your preference).
- QnA Auth Key : Prepopulated from KB publishing page. If empty, copy Endpoint key from connection string.
- App Service Plan/Location : Select QnA App Service plan or create a new one. Refer here for Creating new App Service Plan.
- Application Insights : Off (For Analytics tools, keep it On).
- Microsoft App Id and Password : Auto Create


Go to the created Bot.

Test the bot in Web Chat Bot under Bot Management.

Download the Source code under Build and develop it locally or edit the code in the Online Editor.

Thank you All!!! You have successfully created a QnA Bot without writing any code. Update your KB with new pairs and get the reply in the bot.


Very informative article.
Learnt a lot
Very good article 👍👍