
This is part 4 of the series “Send Power BI Report in Email using Power Automate“. In this post, we are going to see the first approach for sending Power BI reports to emails using Subscribe to Emails feature in Power BI Service.
Pre-requisites
- Install Power BI Desktop
- Create a Simple Power Bi Report | Connect Power BI to SharePoint File
- Publish Power BI Report
Follow previous parts for the series background.
Subscribe to Emails
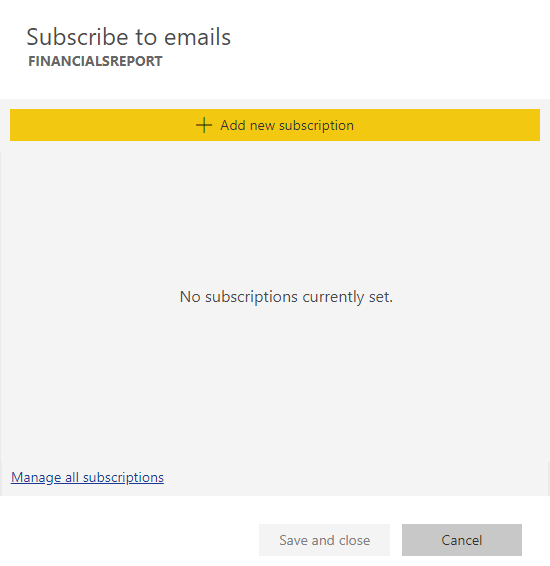
Open your published Power BI report from the workspace. In the last part, I had published our Financial Report in My Workspace.

Click on Subscribe.

Add a new subscription if not subscribed already.
Enter the page name you want to send in emails. Give the email address of all the subscribers you want to send the report. This report will be sent as an attachment. To test run, click on Run Now.

When you click on Run Now, you will receive a similar email as below. This email contains an attachment, a header, and the body with the report as an image link.

The body of the email is not professionally-looking good. If you do a manual task by attaching the images of the report in the body, you will do something similar to this. This manual task is helpful for easy reading a report in the mail itself without clicking on the link or opening an attachment.

In this way, you can customize the email and send the report image in the body. We will be automating this process using Power Automate.
For the first step in automation, schedule this subscription email based on your preferred frequency. I am scheduling the frequency such that, whenever the data is refreshed, I will send the updated report to my subscribers. Make sure, you keep yourself as a subscriber. This will be useful in our automation.

In the next part, we will create a flow that will run when a new email arrives in the inbox. We will save the attachment in a SharePoint location.

Leave a Reply