
Keeping a track of your changes and their history is very important for a developer. GitHub is a code hosting platform for version control and collaboration. It lets you and others work together on projects from anywhere.
In this post, we will push our code to the created repository in GitHub using Eclipse. Check out my previous post where we saw How to Create GitHub Repository?
Prerequisites
- Eclipse
- GitHub Account
Eclipse download link can be found in downloads page.
Push your Code to GitHub
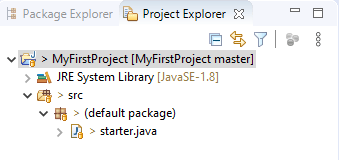
I hope you have the project or code changes ready in the Eclipse to be pushed to GitHub. You will have a similar project structure like this.

If you have read my post on Pushing the Code to GitHub using Command Line, you might be knowing that here also we will be following the same approach. The only change will be, here we will be following it visually with User Interface.
Right click on the project folder, select Team -> Share Project.

Select the checkbox “Use or create repository in parent folder of project”.

Under project, trying selecting the checkbox, it will give a warning message. Below it will ask to create repository.

Now the project will get selected. Click on finish.

On the project folder, you will see a yellow-orange cylinder is shown. This symbolizes that your local git repository is created. The next task is to connect this local git repo to the remote repo.

Right-click on the project folder and hover over Team. You will see that various Source control options are shown such as commit, stashes, pull, synchronize, etc.

Select Commit for now. This will open a Git Staging window. Initially, changes are in Unstaged Changes. This has to be moved to Staged changes before Commit.

Select all files or add individual files.

Give a commit message and author & committer details. Click on Commit and Push.

Paste the GitHub Repository URI. The host and repository path will be auto-populated. If the GitHub repo is private, provide the username and password in the required fields.

Choose the branch you want to push your changes to. The master branch is automatically populated. Click Next.

Login to GitHub to push your changes.

Finally, click on Finish.

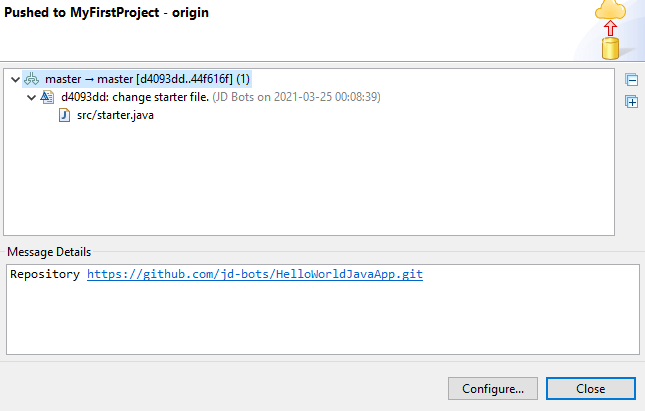
If changes are pushed to GitHub successfully, you will see below window.

Cross check your GitHub repo for the changes.

Till now we have pushed the initial commit. Let us try changing some code and then push it. When you make any changes to the file a greater than (>) symbol will be shown in front of the file. This represents that some changes are not staged.
When you move the changes from Unstaged to Staged state, the greater than symbol changes to black star.

And finally when you commit the change, the initial yellow-orange cylinder is shown.

On the Push to the upstream window, it asks to configure just incase you want to change some settings.

This completes our post where we saw how to push your changes to the GitHub Repo from Eclipse.

Leave a Reply